Super Admin Account Activities
Dashboard
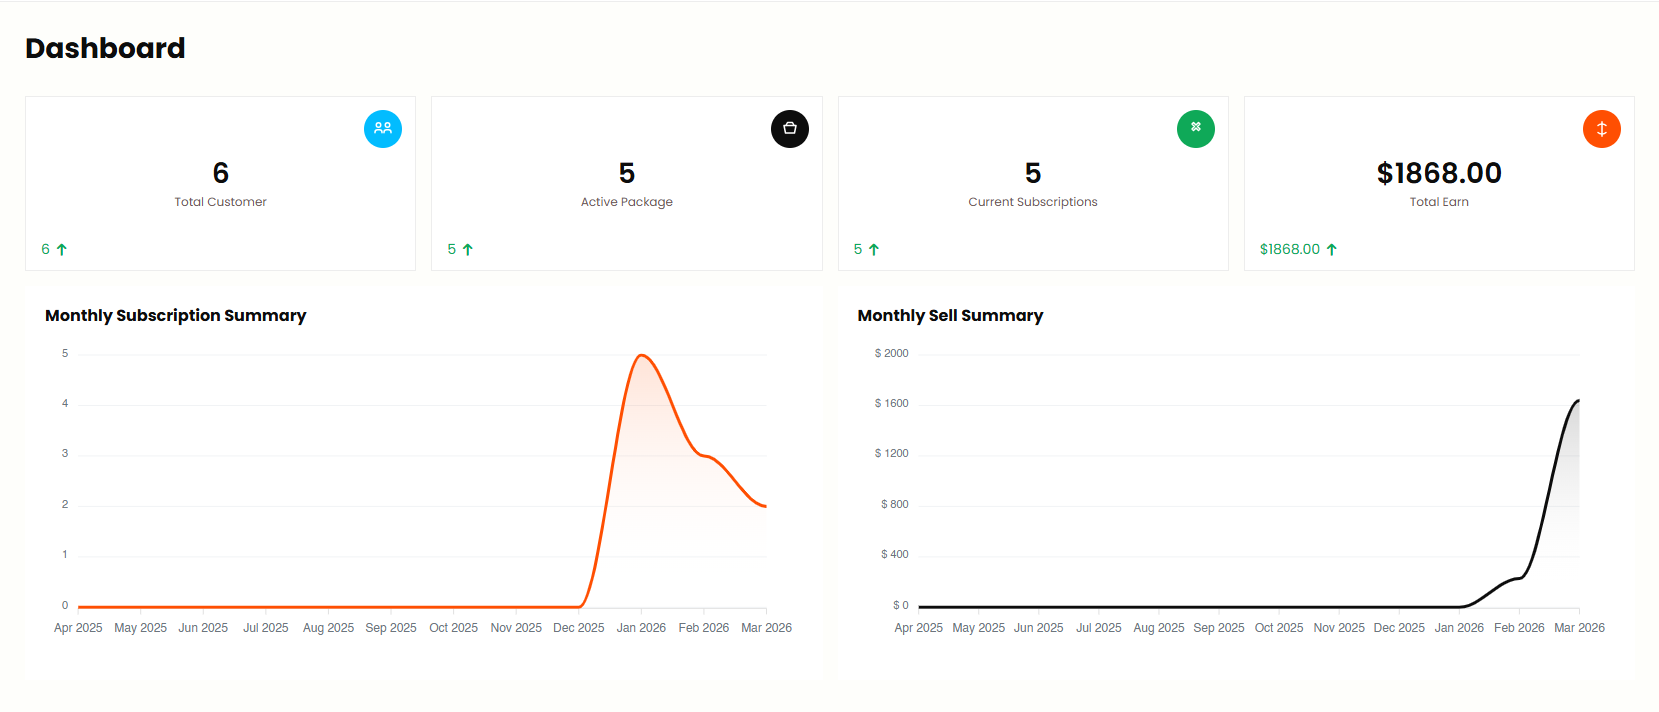
Super Admin can view an overview of the system statistics and key metrics from this panel. Super Admin can Show
- Total Customer
- Active Package
- Current Subscriptions
- Total Earn
- Monthly Subscription Summary
- Monthly Sell Summary
Billing Center
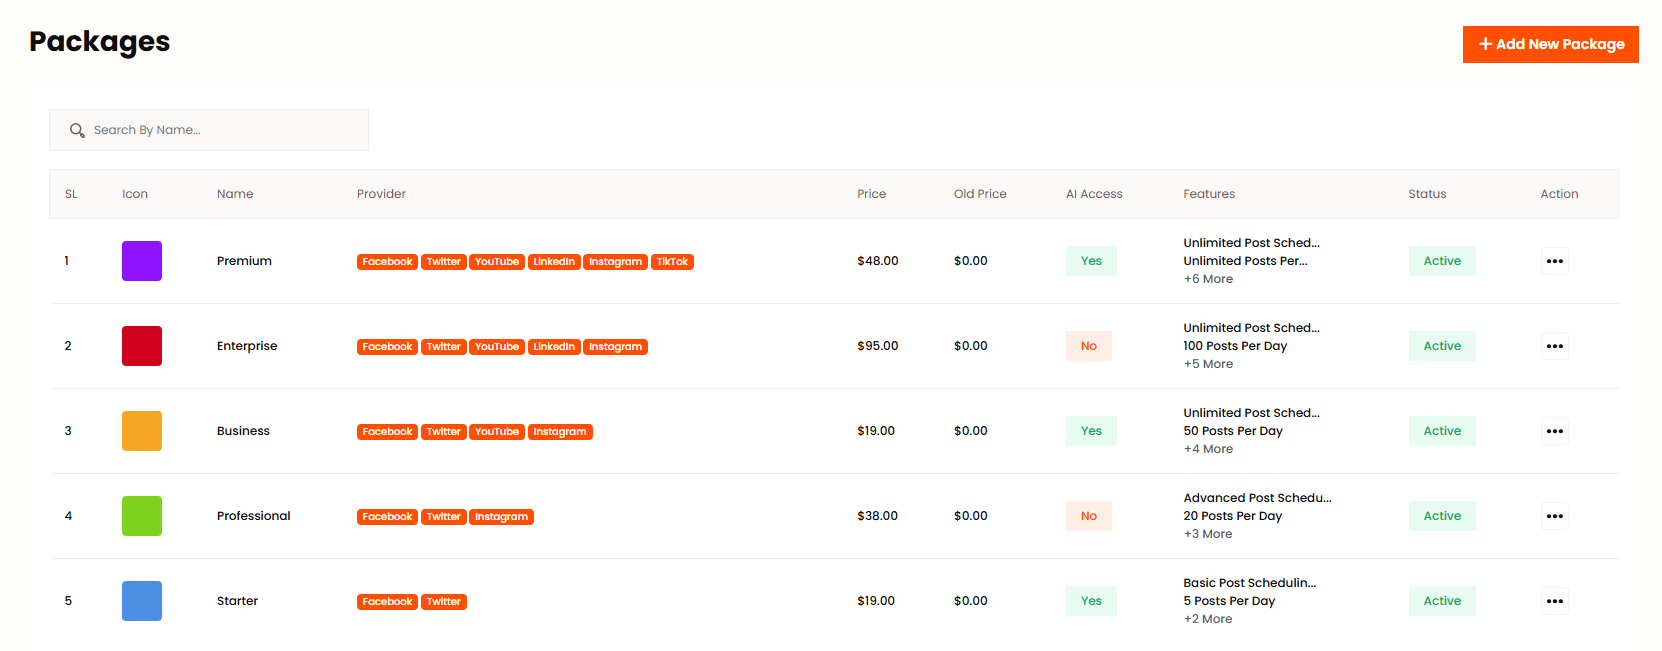
Package
Super Admin can add, edit and delete packages as per his wish from this panel. Or you can see the list of all packages with Name, Price, Trial Days and Status. Each package can include features like Post Limit, Account Limit and Campaign Limit.
You can create or update a package, but make sure the Stripe/PayPal
credentials are correct. Otherwise, keep the gateway status deactivated;
otherwise, you won't be able to create the package.
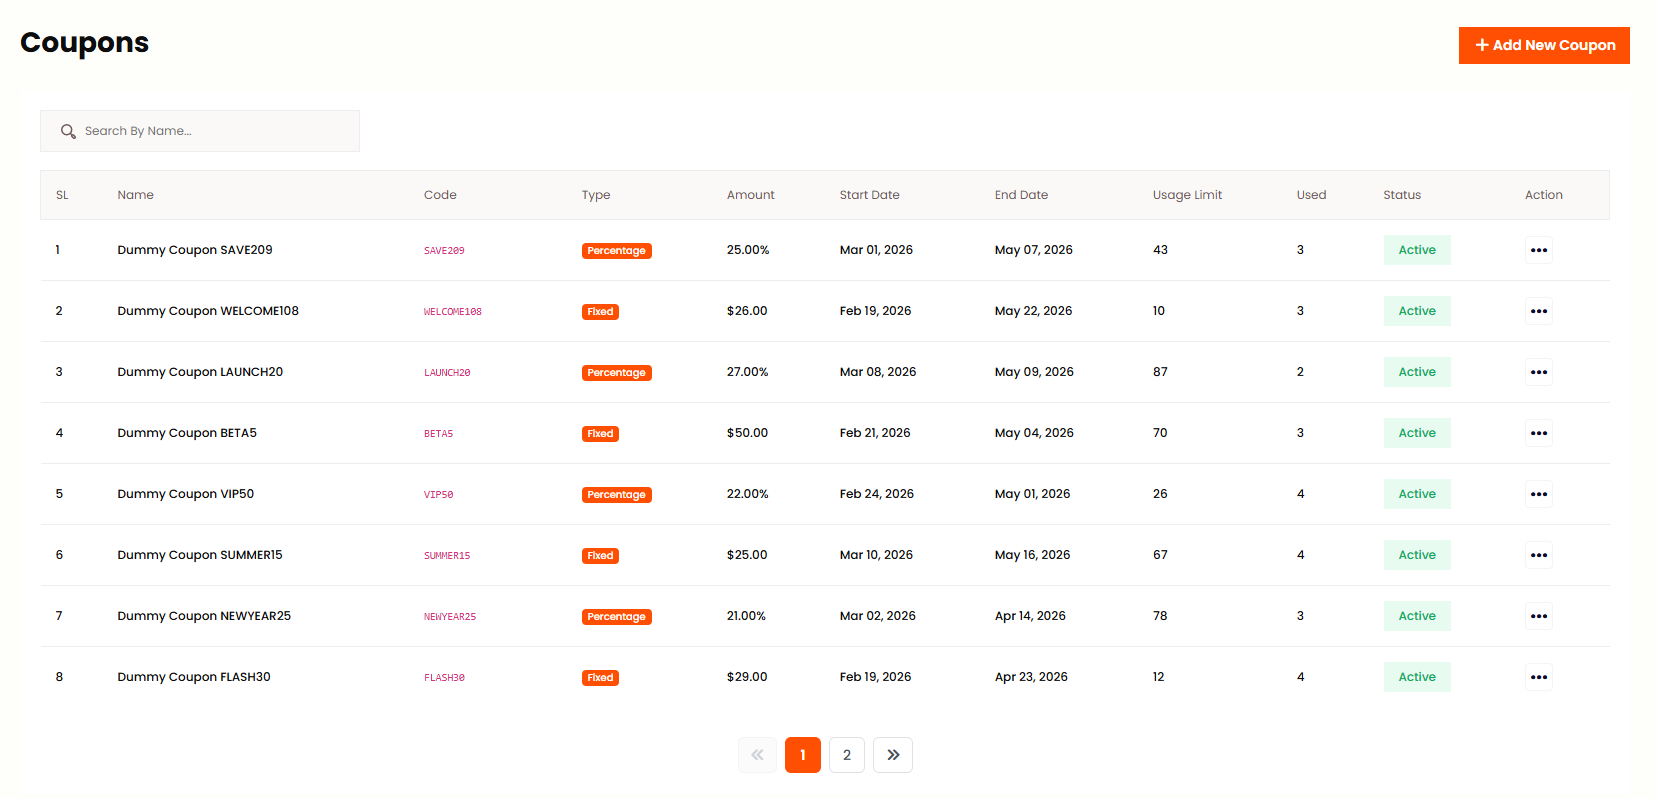
Coupons
Super Admin can add, edit and delete coupons as per his wish from this panel. Or you can see the list of all coupons with Name, Code, Type, Amount, Start Date, End Date, Usage Limit and Status. Coupons can be used during checkout to apply discounts on packages.
User Package
Super Admin can assign, update user to different packages as per his wish from this panel. You can filter by package and search by user name or email. From Action you can Edit user package or Revoke the assigned package.

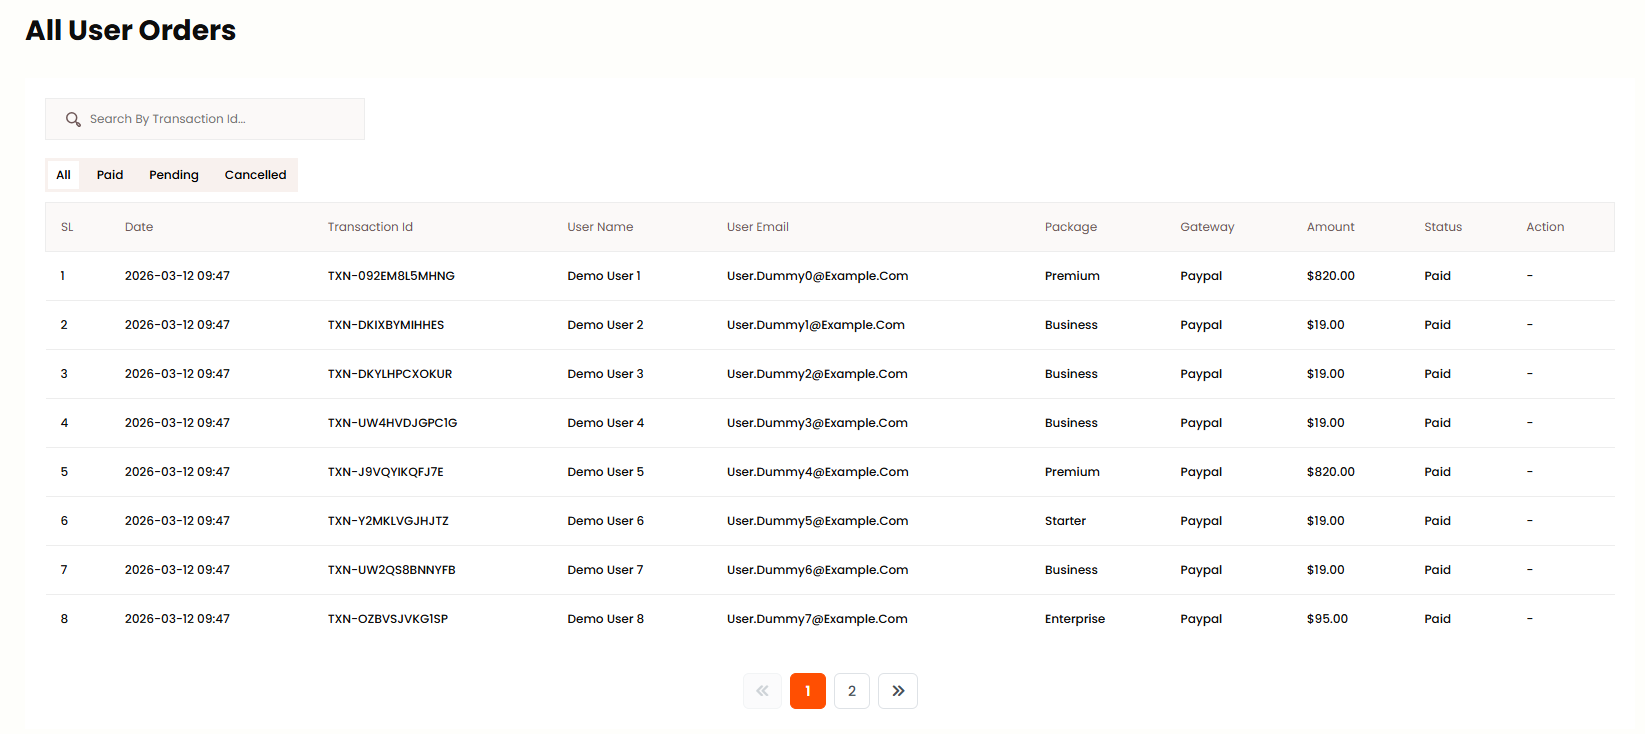
All Order
- In this panel Super Admin can see all check out or plan purchase history.
- You can see all the information of the order, and if you click on their slip download, view button you can see them
- If you click on edit button you can pay or cancel the pending orders. Or you can see all that information in these steps:
User Management
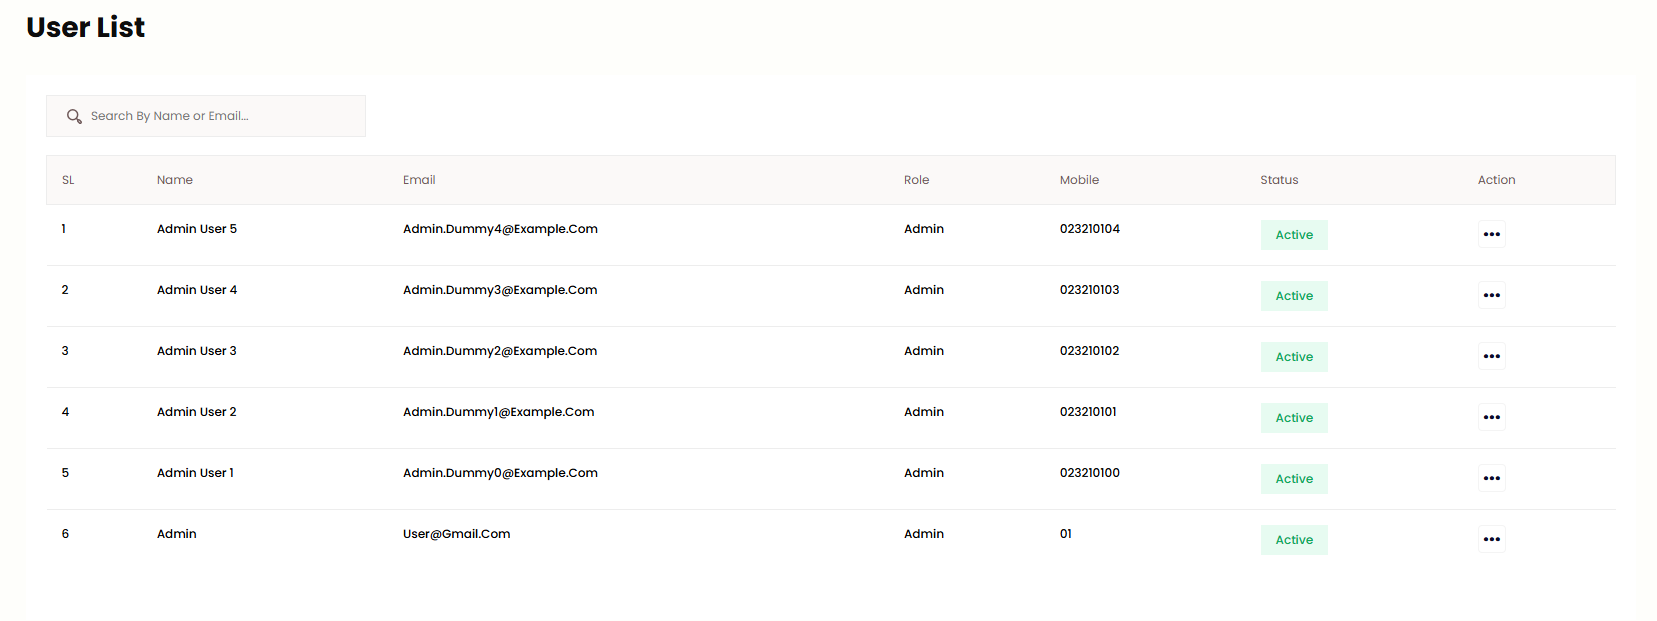
User List
Super Admin can see all user list and details from this panel. Admin can add new user, edit or delete users. The list shows Name, Email, Role, Mobile and Status for each user. You can search by name or email to find users quickly.
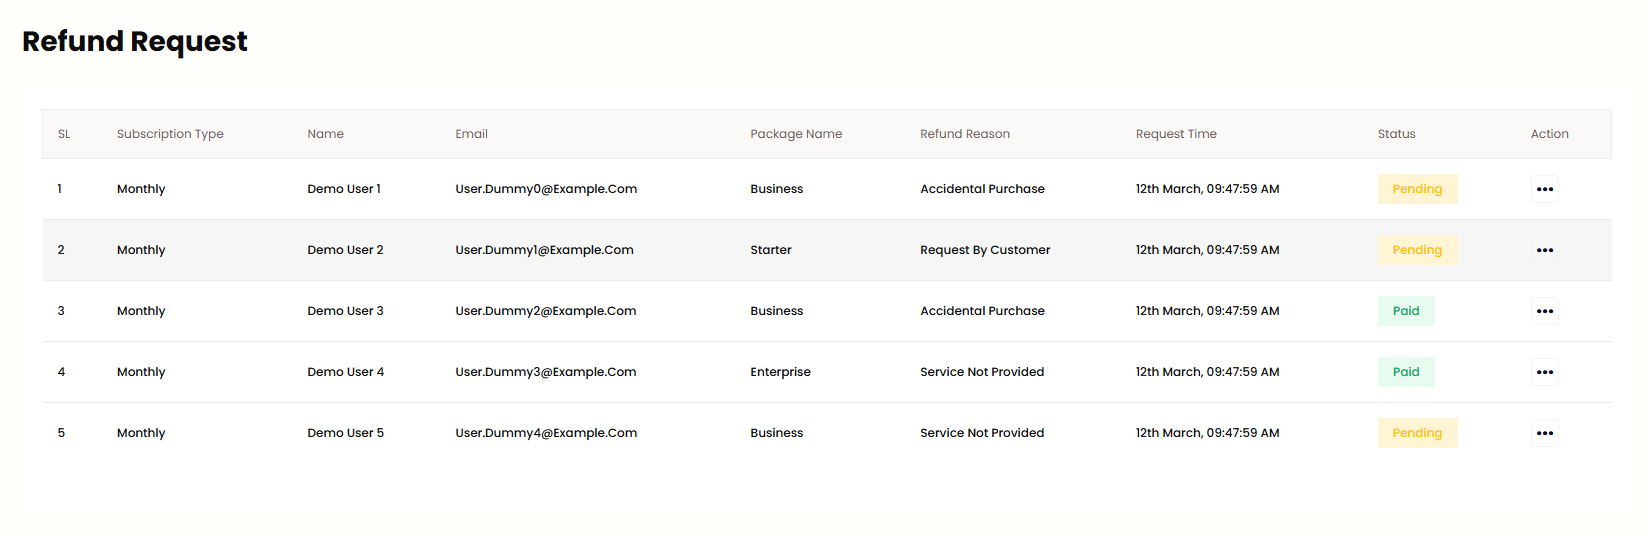
Refund Request
Super Admin can view all refund requests and change refund status (Approve/Reject) from this panel. Each request shows Subscription Type, User Name, Email, Package Name, Refund Reason and Request time. Click Edit from Action to approve or reject the refund.
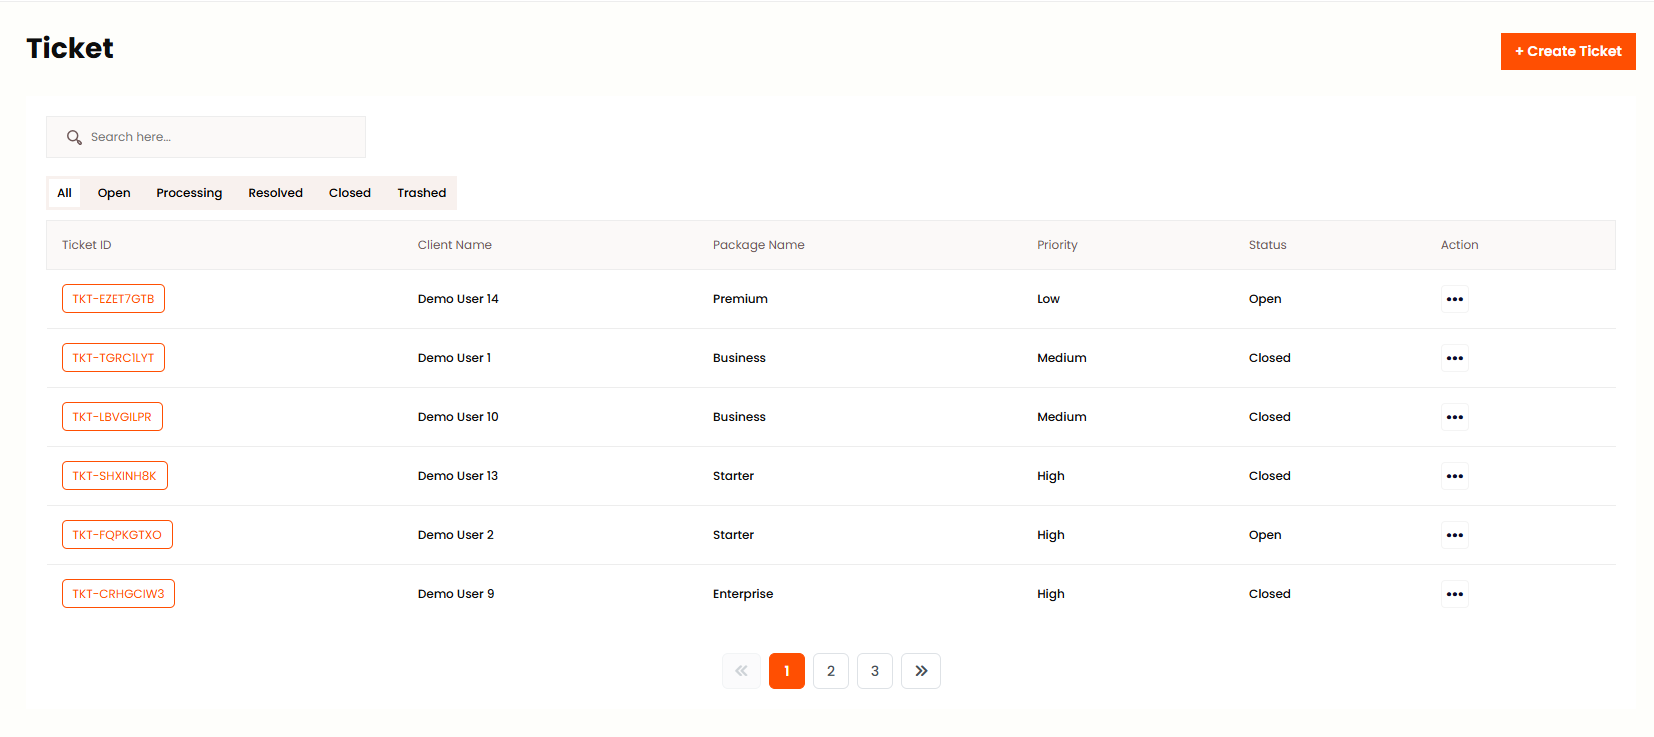
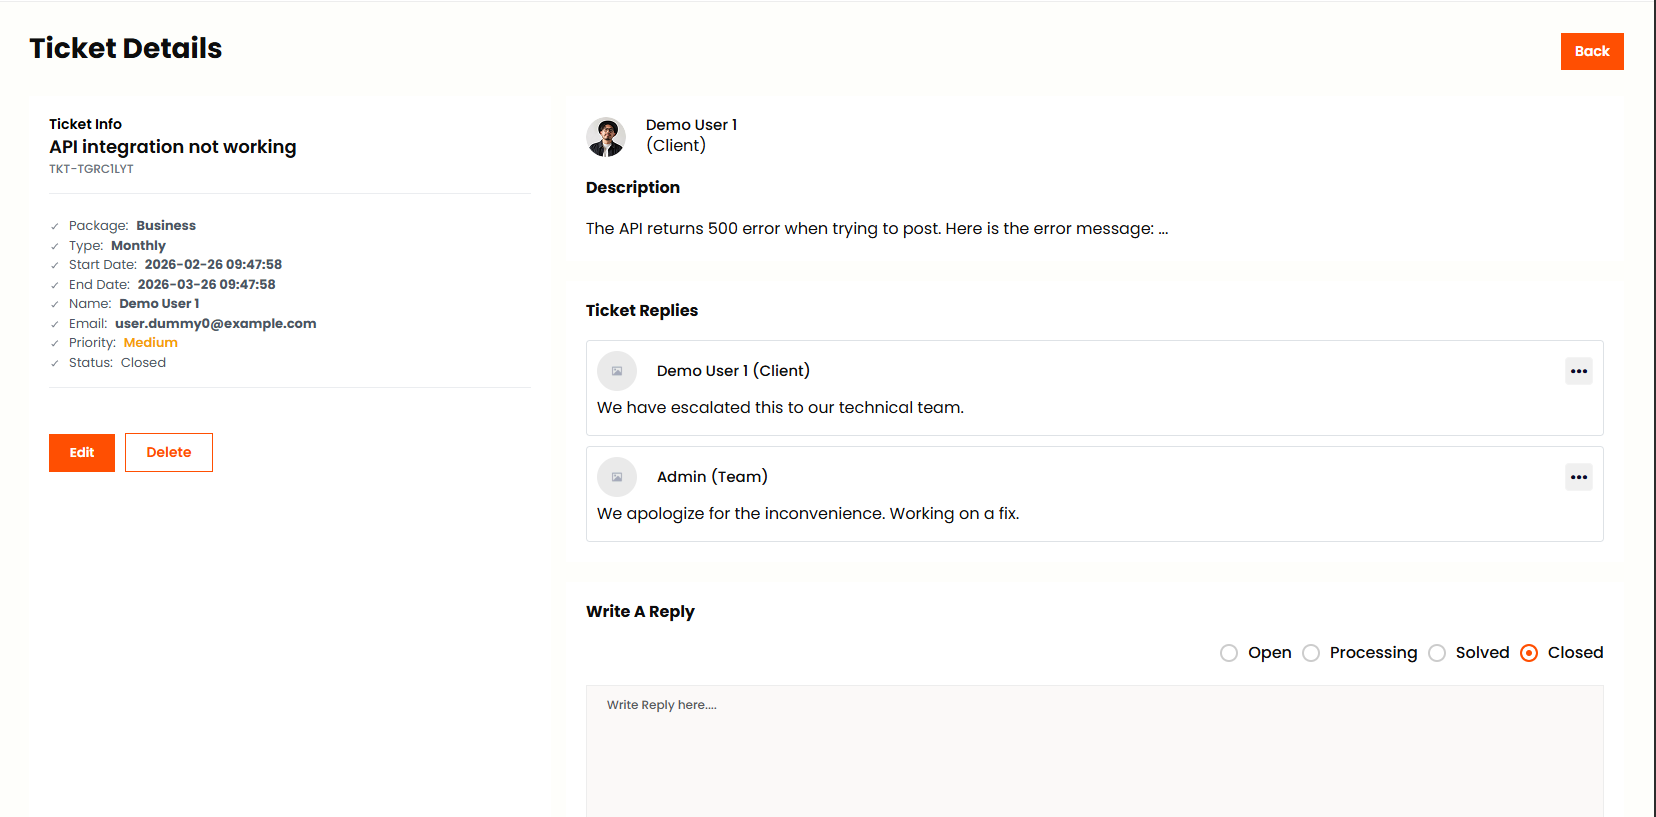
Support Ticket
Super Admin can view all support tickets, add new ticket, edit, assign member, change priority, add conversations, change status from this panel. You can filter tickets by status: Open, Processing, Resolved, Closed or Trashed. Click on ticket details to view conversations and reply to the user.
Access Control
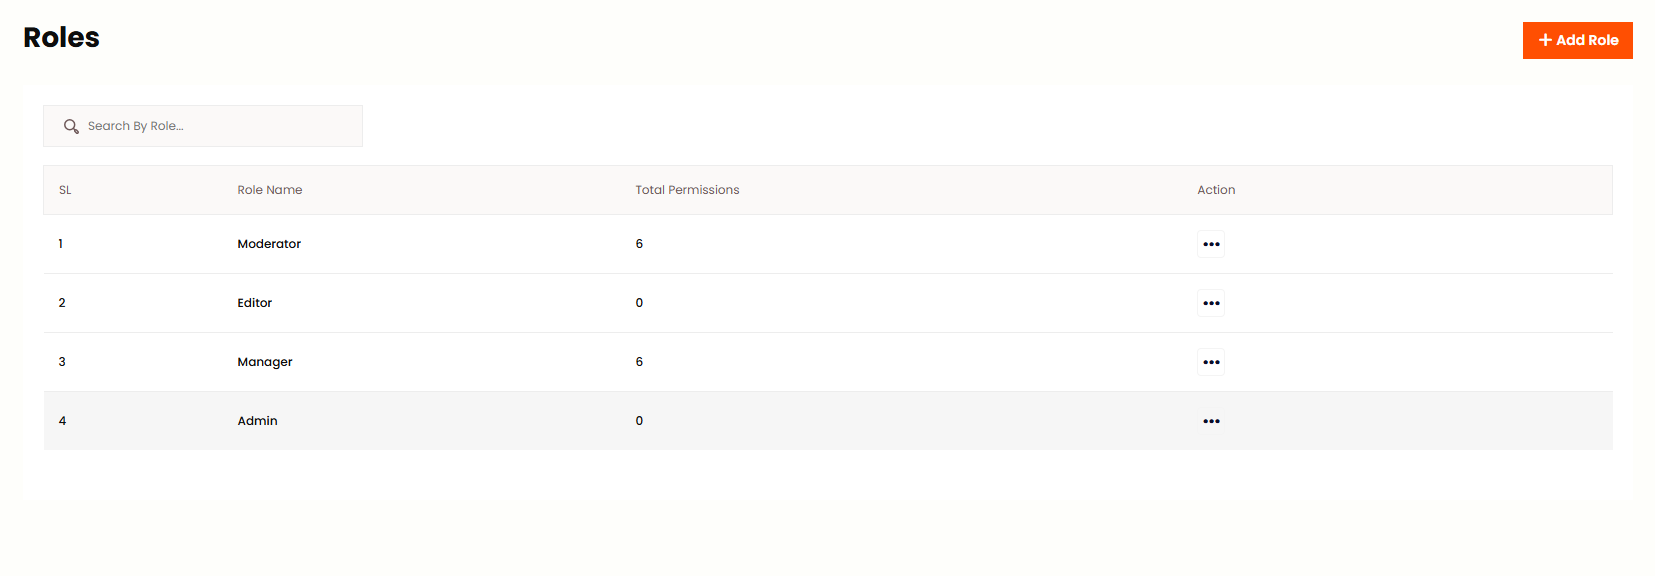
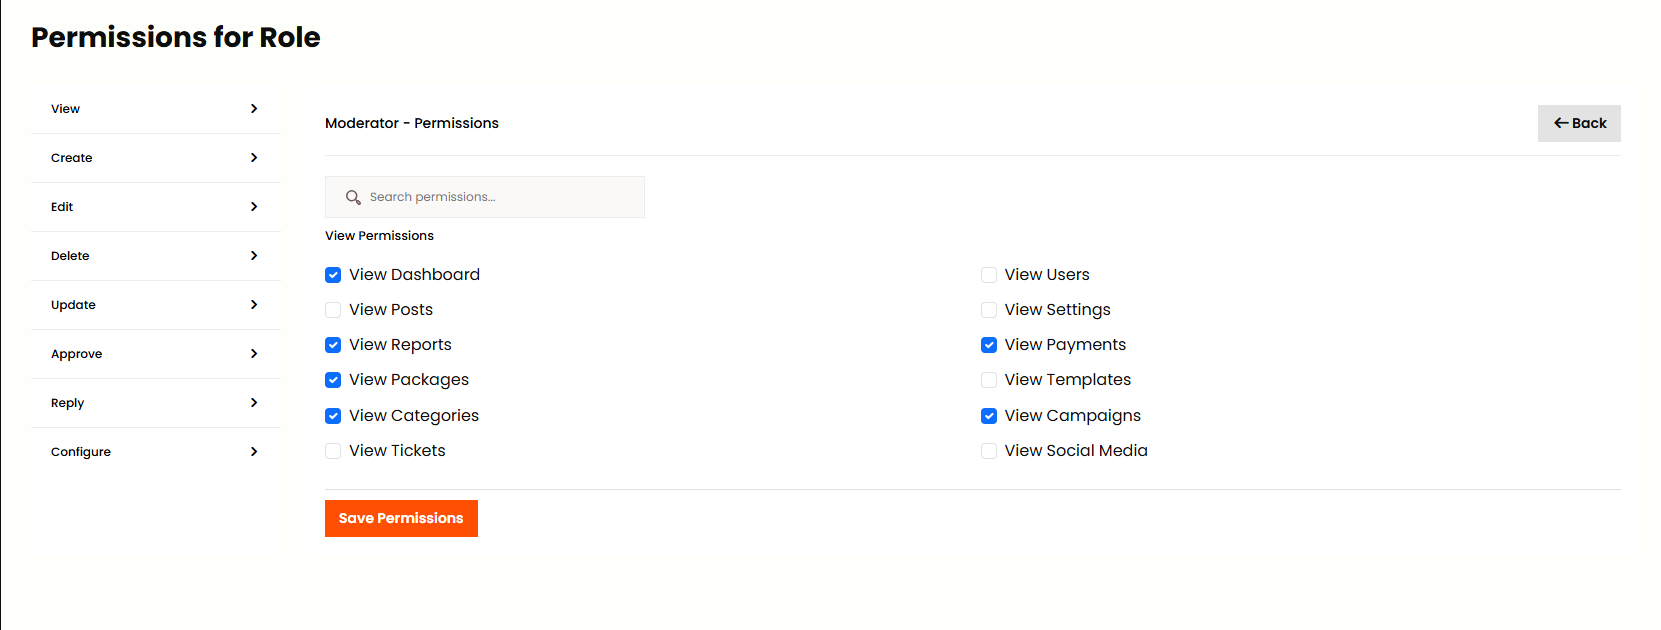
Role
Super Admin can add, edit and delete roles as per his wish from this panel. Admin can assign permissions to role by clicking Action. Define what each role can access: User Management, Billing, Support Ticket, System Settings and more. Roles control what features Admin users can see and use.
Frontend Configuration
Frontend Configuration allows Super Admin to manage and configure all frontend content and elements of the website.
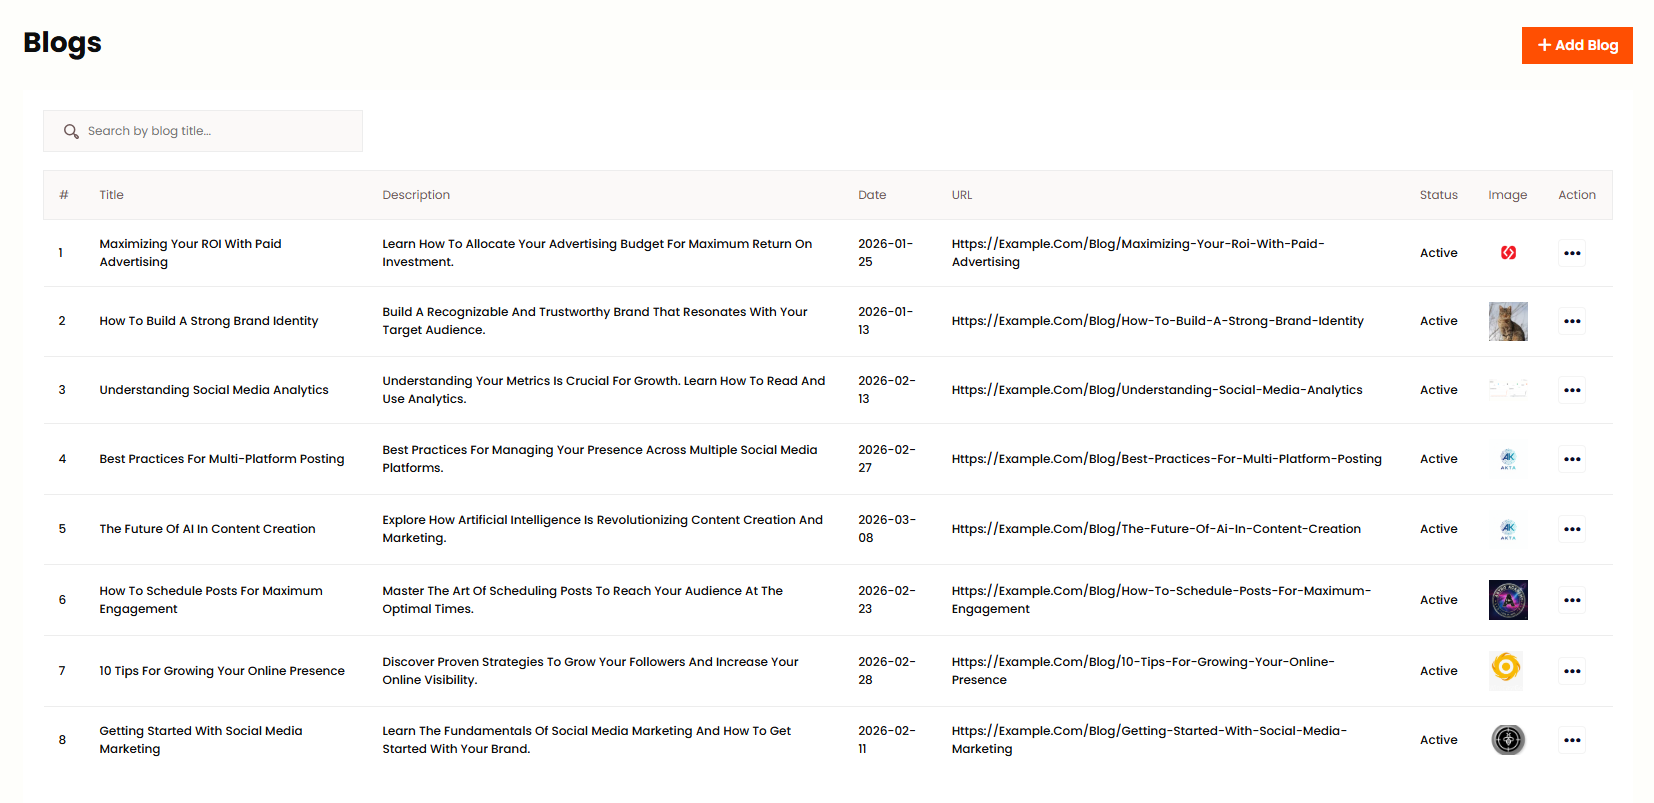
Manage Blogs
Manage Blogs allows Super Admin to view, edit and delete existing blog posts from the system. You can see all blog posts in a list with title, author, date and status. You can search and filter blogs by category or status. Click on Action button to edit or delete any blog post.
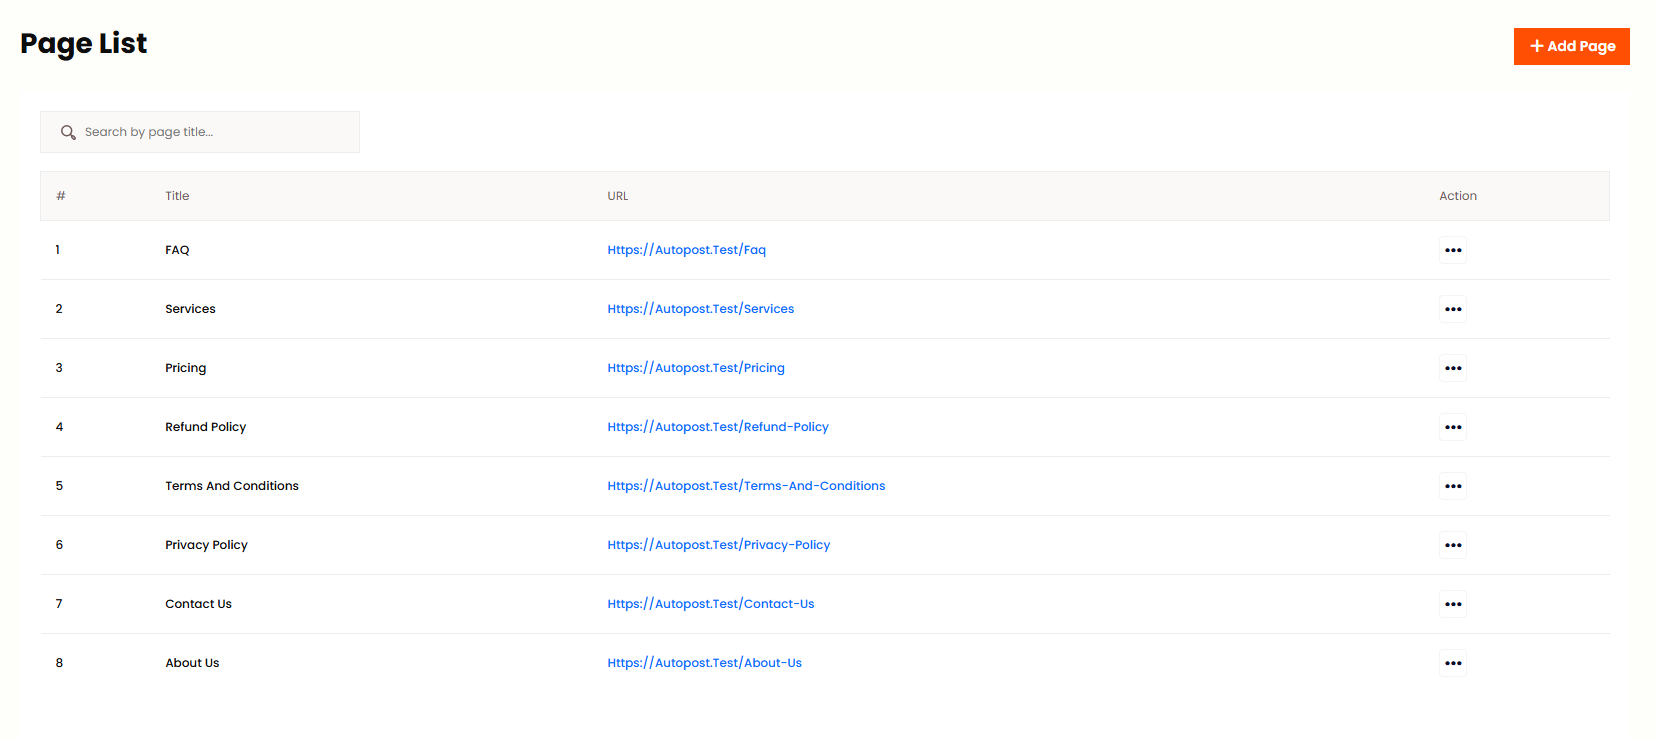
Manage Pages
Manage Pages allows Super Admin to view and manage all existing pages on the website. You can see all pages in a list with title, status and date. You can edit or delete any page from the action menu.
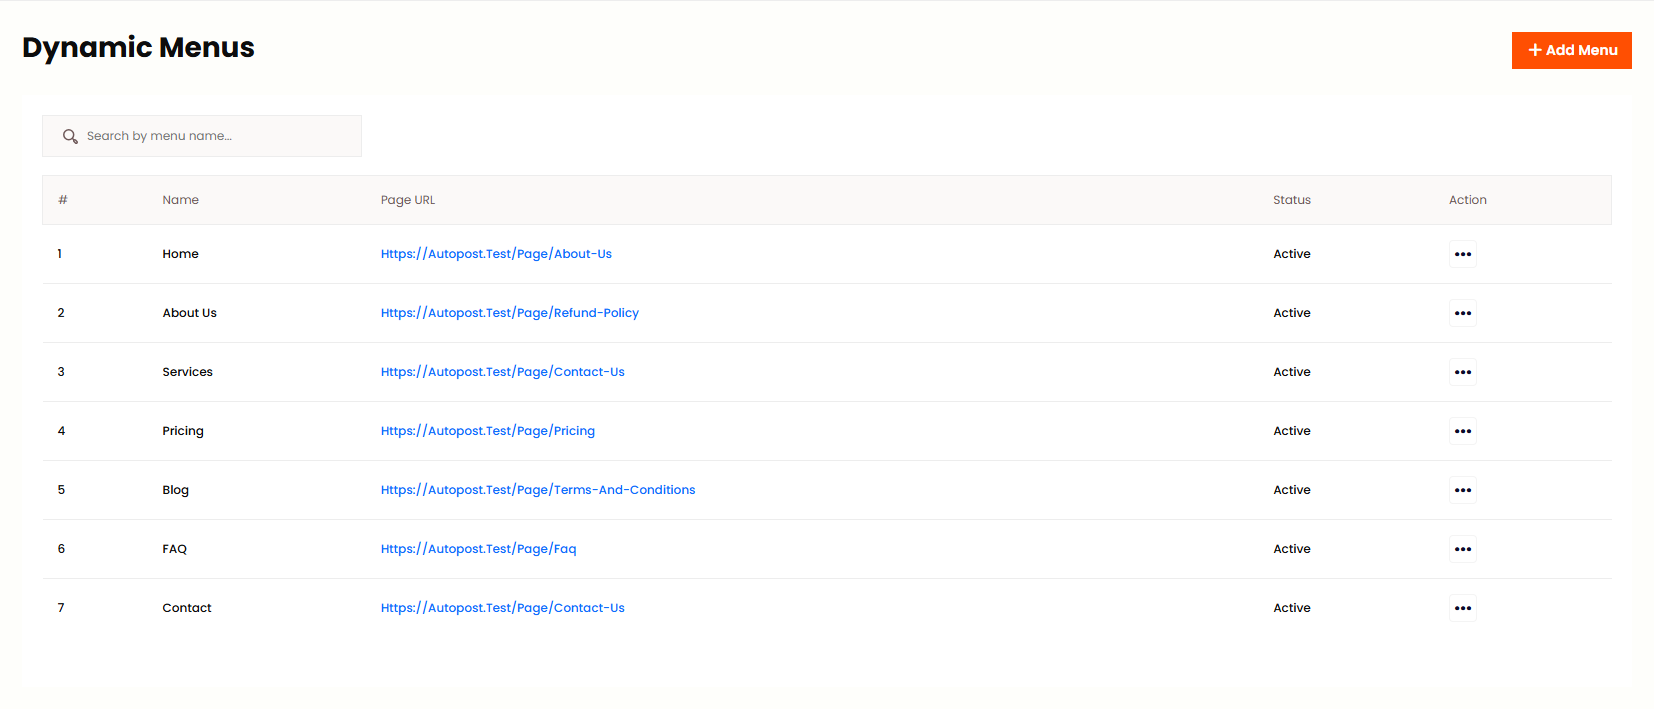
Manage Menus
Manage Menus allows Super Admin to manage navigation menus and their links. You can create new menus, add menu items, reorder items using drag and drop, and set menu location.Nav Dynamic Menu allows Super Admin to configure dynamic navigation menus that can change based on user roles or other conditions. You can set menu items visibility based on user login status, user role, or other parameters.
System Configuration
General Setting
Super Admin can manage all general settings of the application from this menu. The General Setting is divided into multiple sections:
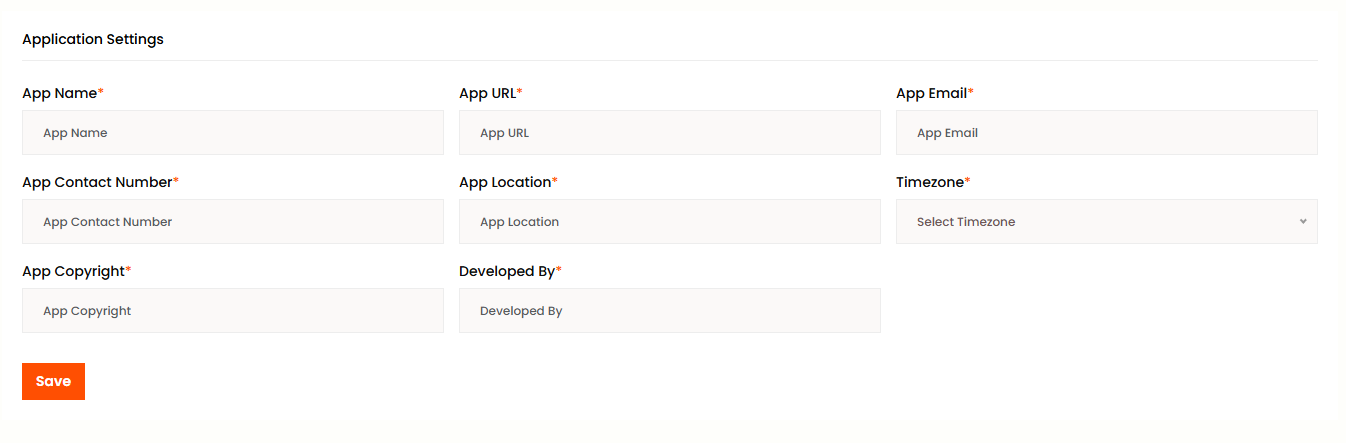
Application Settings
Application Settings allows Super Admin to configure basic application information. Here you can set the App Name which is the name of your application that will be displayed throughout the system. You can also set the App URL which is the primary URL where your application is hosted. The App Email is the official contact email address for your application. App Contact Number is for customer support. App Location is your company's physical address. App Copyright is the text displayed in the footer. Developed By shows the developer or company name that developed the application. Timezone is used to set the accurate time display across the system.

App Settings
App Settings allows Super Admin to configure general application behavior and preferences. Here you can set the default language for the application. You can configure the date and time format. You can set the rows per page for pagination. You can configure the session timeout. You can set the default timezone for the entire system. You can also configure the email sending method and other general preferences.
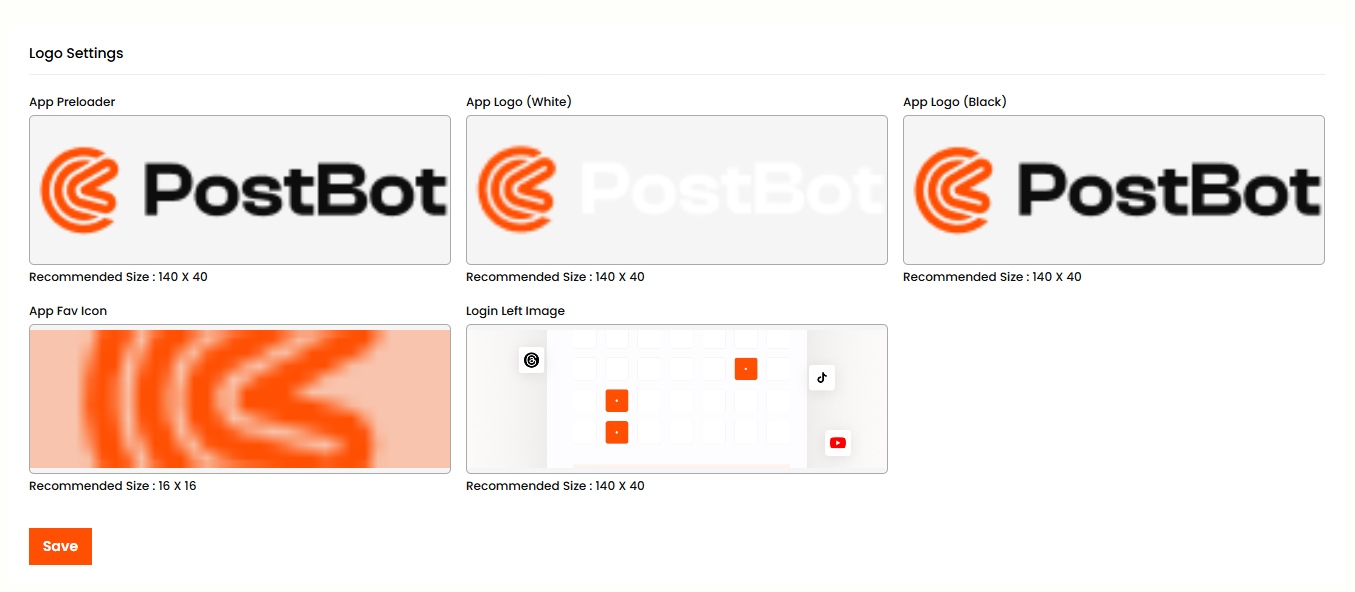
Logo Settings
Logo Settings allows Super Admin to upload and manage various branding elements of the application. Here you can upload the App Preloader which is the loading animation displayed while the page is loading. App Logo is the main logo displayed in the navigation and other places. App Fav Icon is the small icon displayed in the browser tab. Login Left Image is the background image displayed on the login page. Admin Logo is for the admin panel branding.
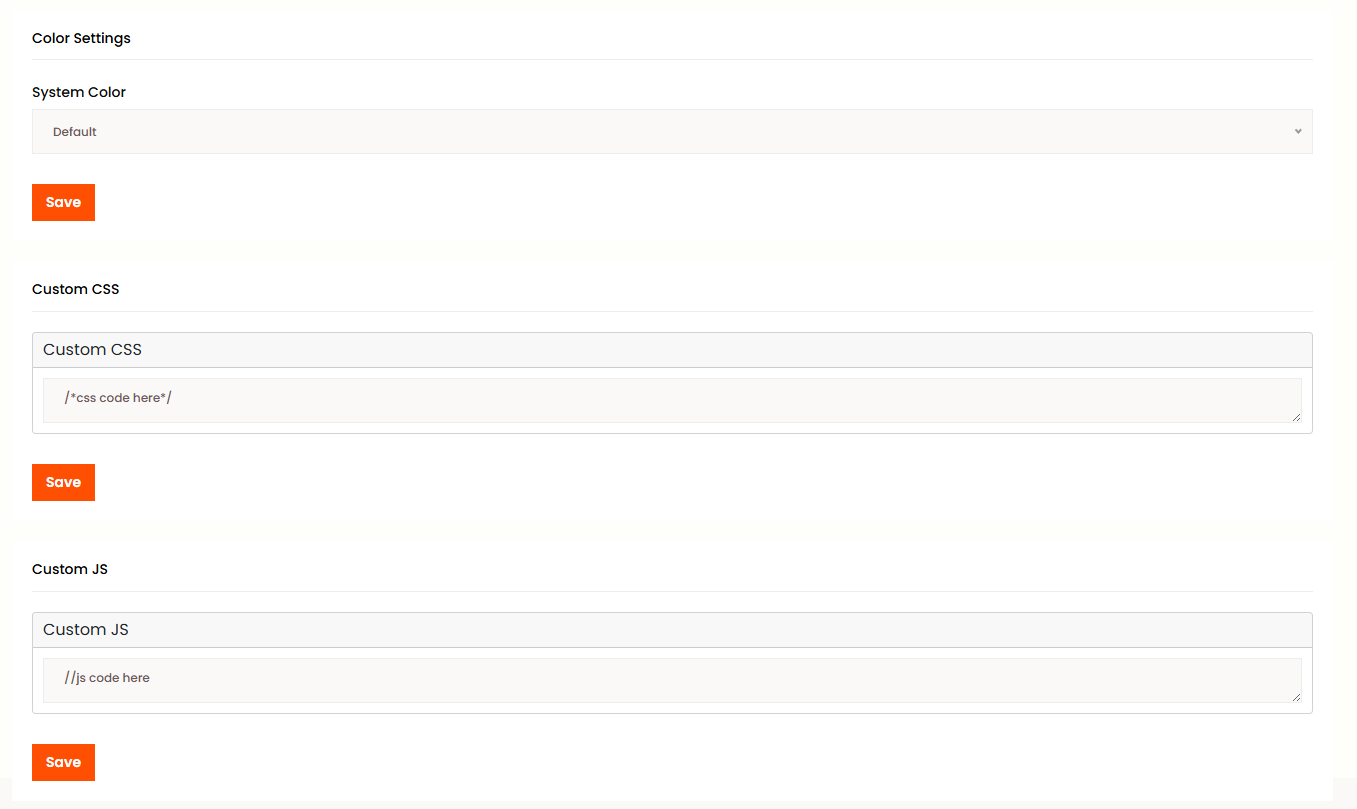
Color Settings
Color Settings allows Super Admin to customize the application's color scheme to match your brand. Here you can set the Primary Color which is the main color used throughout the application. Secondary Color is for accents. Hover Color is the color when hovering over interactive elements. Gradient Color is for hero sections and special areas. You can also customize the sidebar color and navbar color.
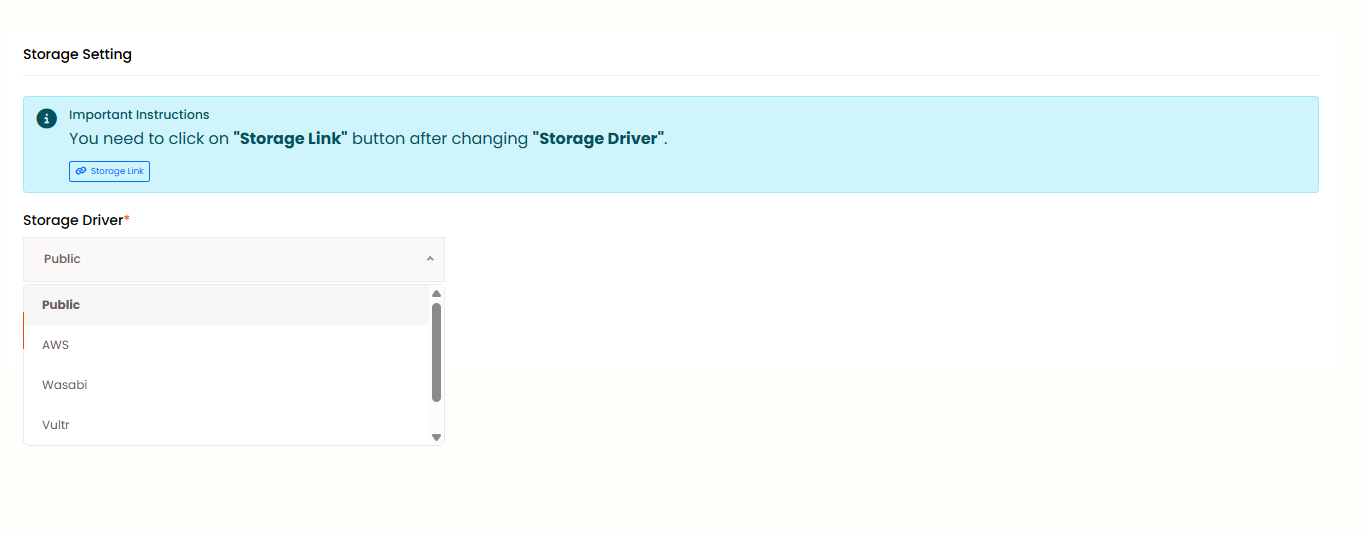
Storage Settings
Storage Settings allows Super Admin to configure where files should be stored. You can choose Public to store files locally in the public directory which is the default option. You can also choose AWS S3 which is Amazon Web Services Simple Storage Service. Wasabi is for Wasabi Cloud Storage. Vultr is for Vultr Object Storage. Digital Ocean or DO is for Digital Ocean Spaces. Each option has its own configuration fields.
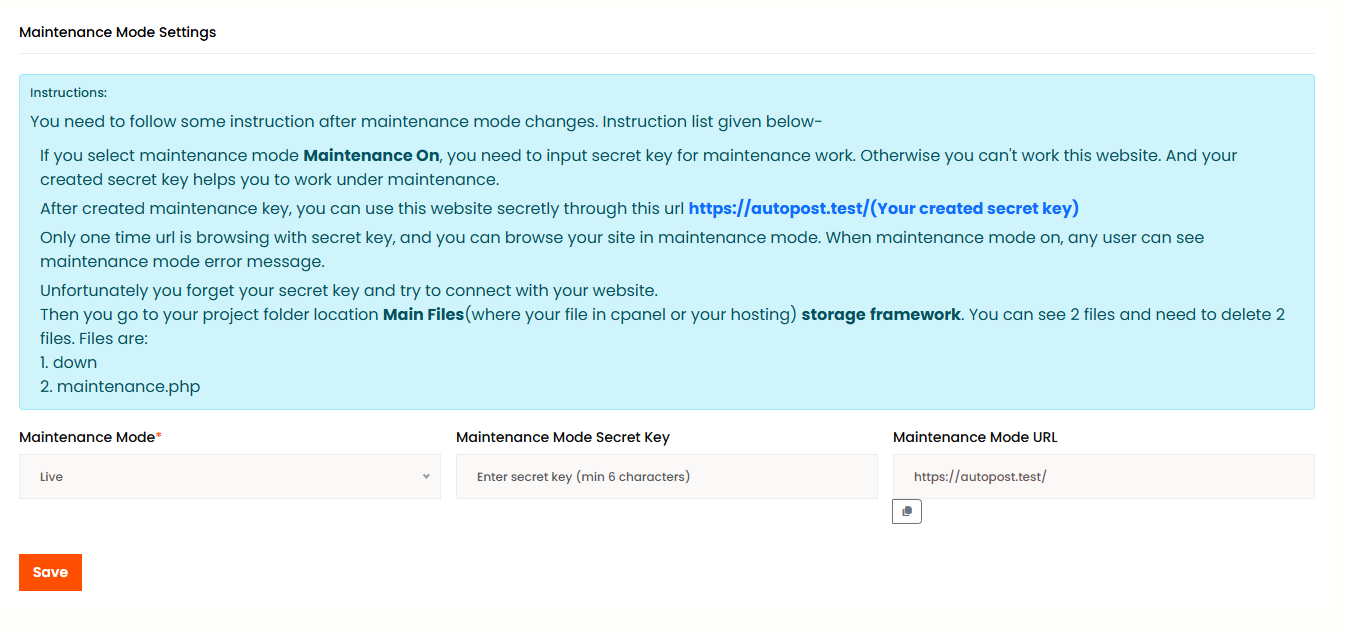
Maintenance Mode
Maintenance Mode allows Super Admin to enable or disable the website maintenance mode. When enabled, visitors will see a maintenance page instead of the actual website. You can set Maintenance Mode toggle to enable or disable this feature. Secret Key is the secret key to access the site during maintenance mode. Maintenance Mode Url is the custom URL for maintenance access. You can also customize the maintenance page content.
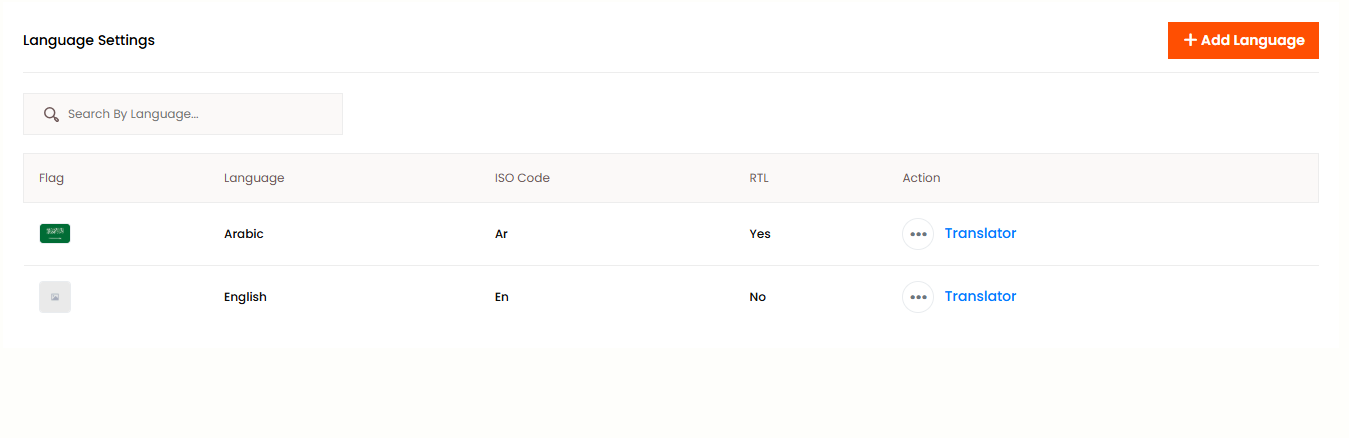
Language Settings
Language Settings allows Super Admin to manage multiple languages for the application. Here you can add a new language with name, code, and flag. You can edit existing language settings. You can delete unwanted languages. You can also set a default language for the system. You can enable or disable language switcher for users. Click on Action button to add, edit, or delete languages.
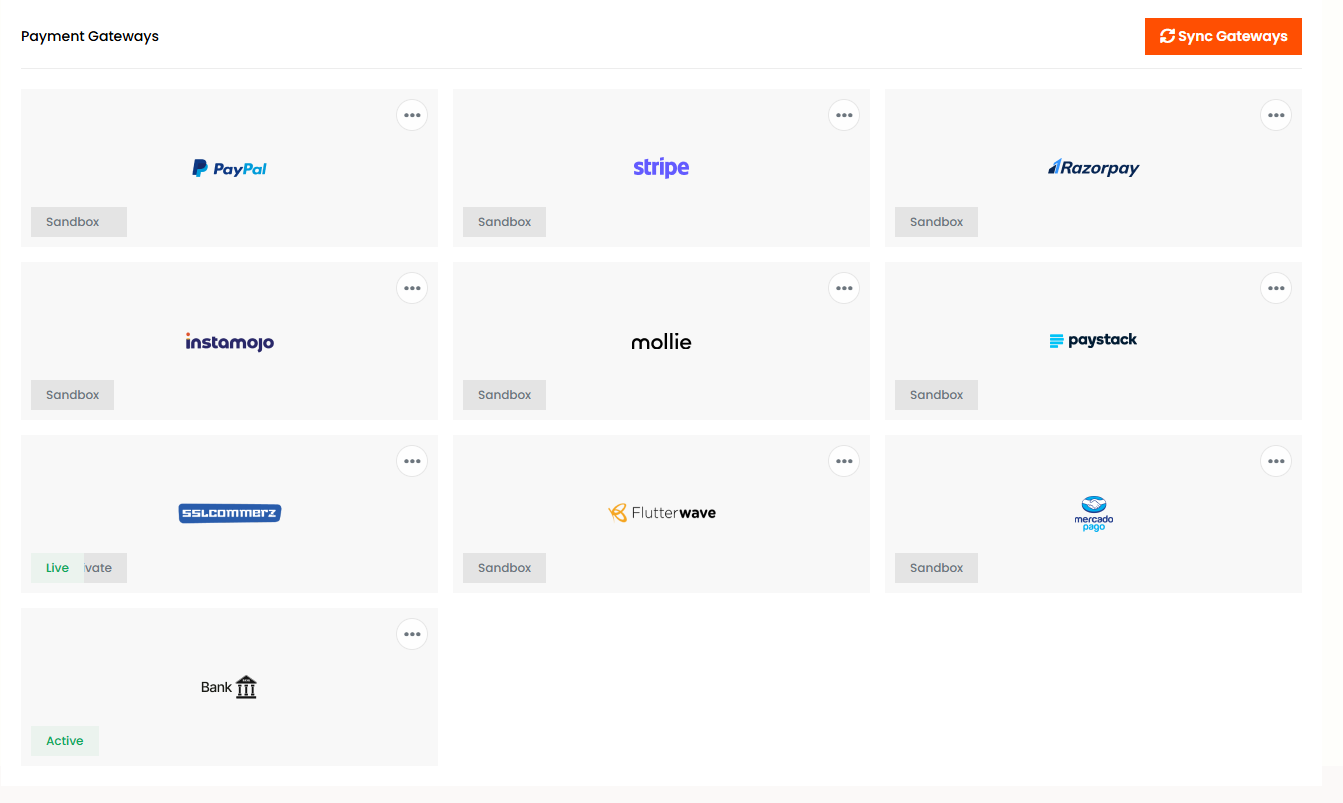
Gateway Settings
Gateway Settings allows Super Admin to configure payment gateways for the application. PayPal is a widely used payment gateway where you can set Client ID and Secret Key from developer.paypal.com. Stripe is another popular payment gateway where you can set Secret Key from stripe.com. Razorpay is an Indian payment gateway where you can set Key ID and Key Secret. Instamojo is an Indian digital payment platform where you can configure API Key and Auth Token. Mollie is a European payment service provider where you can set API Key. Paystack is an African payment gateway where you can set Public Key and Secret Key. SSLCommerz is a Bangladeshi payment gateway where you can set Store ID and Store Password. Flutterwave is an African payment gateway where you can set Public Key and Secret Key. MercadoPago is a Latin American payment gateway where you can set Client ID and Client Secret. Bank is for direct bank transfer where you can configure bank name, account number, routing number and other bank details. Each gateway has its own configuration fields and you can enable or disable each gateway individually.
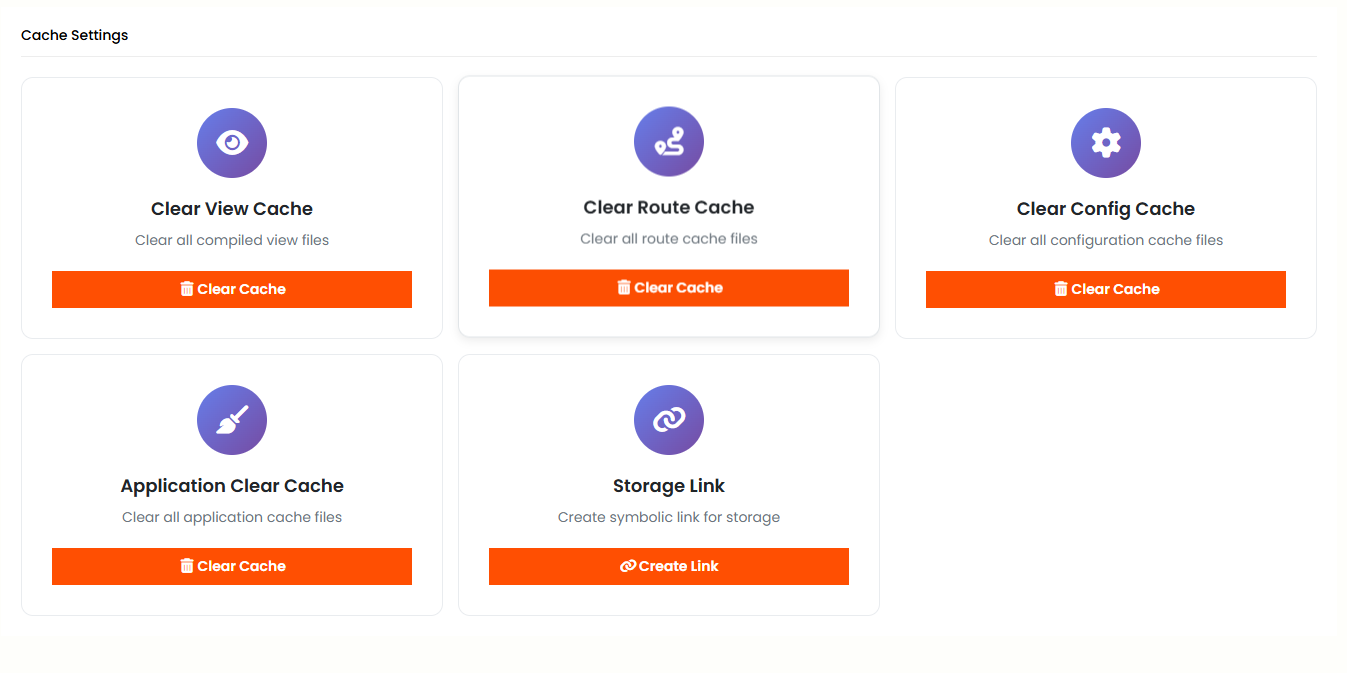
Cache Settings
Cache Settings allows Super Admin to manage and clear cache to improve application performance. Here you can clear cache to remove all cached data. You can view cache to see current cached files and sizes. You can configure cache settings to set cache expiration time and preferences. You can also clear route cache and view cache separately.
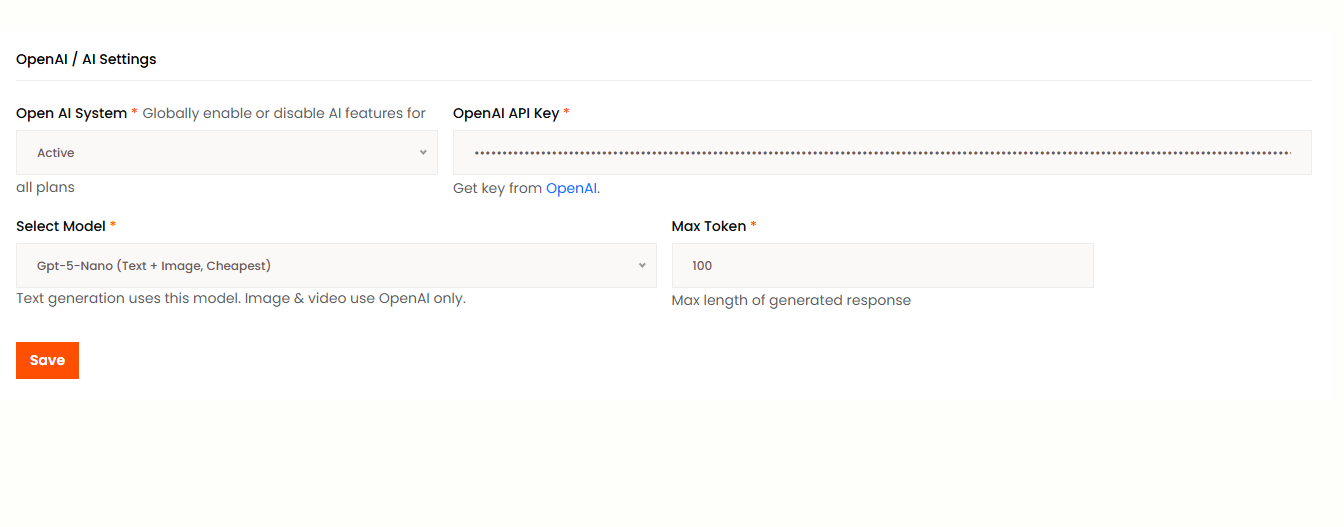
AI Settings
AI Settings allows Super Admin to configure AI-related features for the application. Here you can set the AI API Key for AI-powered features. You can select the AI Model to use such as GPT-4, GPT-3.5, Claude and more. You can control the AI Temperature to control the creativity level of AI responses from 0 to 1. You can set Max Tokens for AI-generated content. You can enable or disable AI Content Generation features. You can enable or disable AI Image Generation features. You can also configure AI Chatbot settings for customer support.
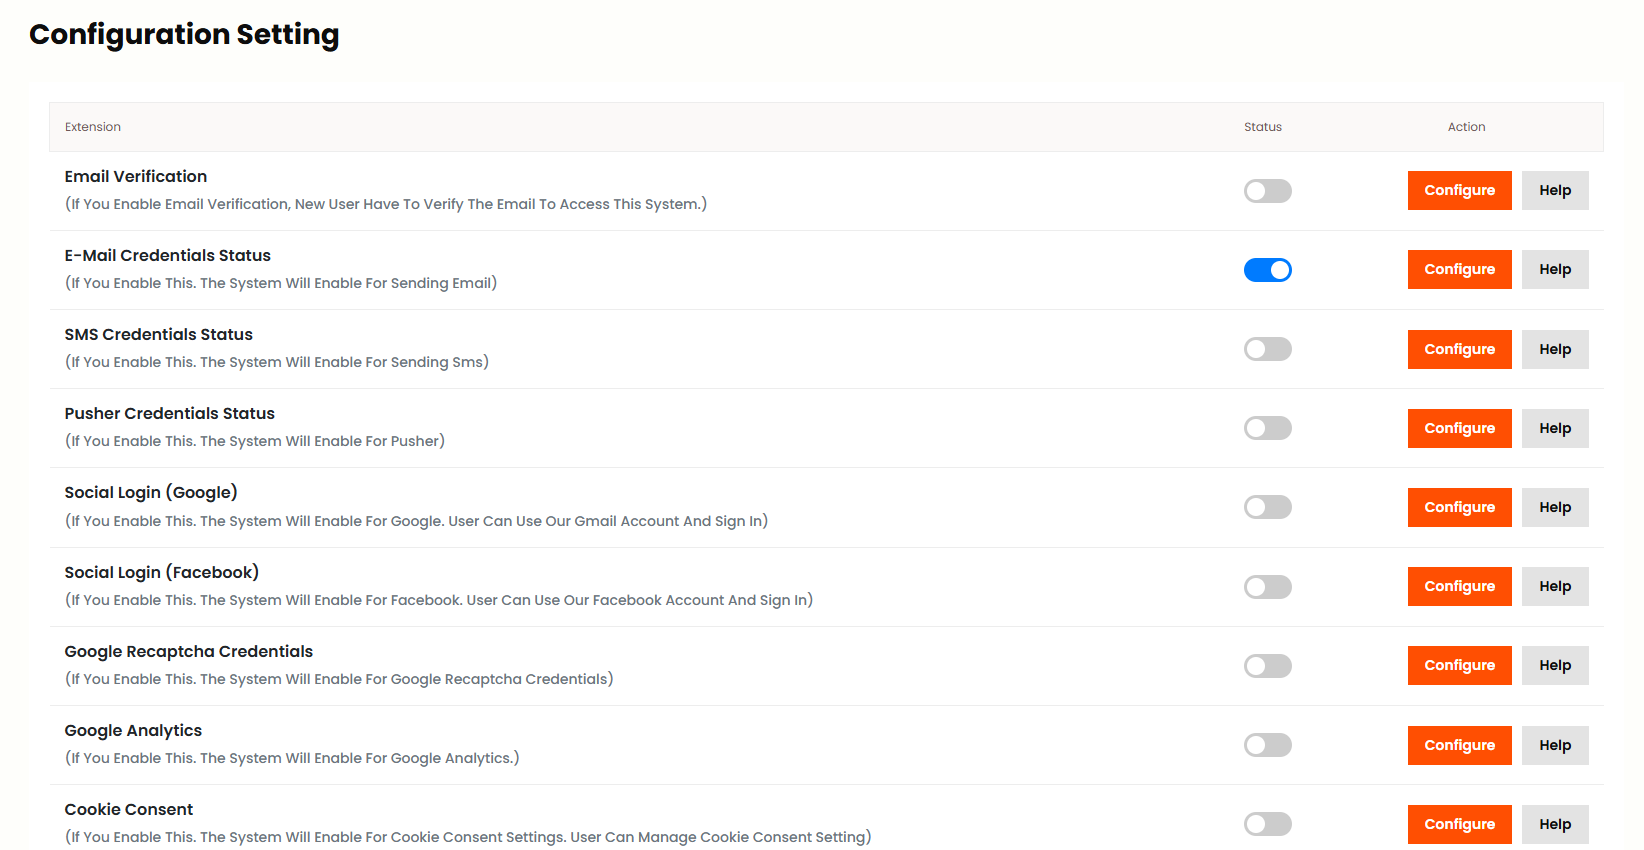
Configuration Settings
Configuration Settings allows Super Admin to manage and configure various application features and credentials. Email Verification when enabled requires new users to verify their email address before accessing the system. E-mail credentials status when enabled activates the system's ability to send emails through configured SMTP settings. SMS credentials status when enabled activates the system's ability to send SMS messages. Cookie Consent when enabled allows users to manage their cookie consent settings. Google 2FA when enabled activates two-factor authentication using Google Authenticator for enhanced security. Preloader when enabled displays a loading animation before the page content loads. Show Language Switcher when enabled displays a language switcher allowing users to change the language. App Debug when enabled shows detailed error messages instead of generic warnings. Force SSL when enabled forces the website to use HTTPS secure connection.
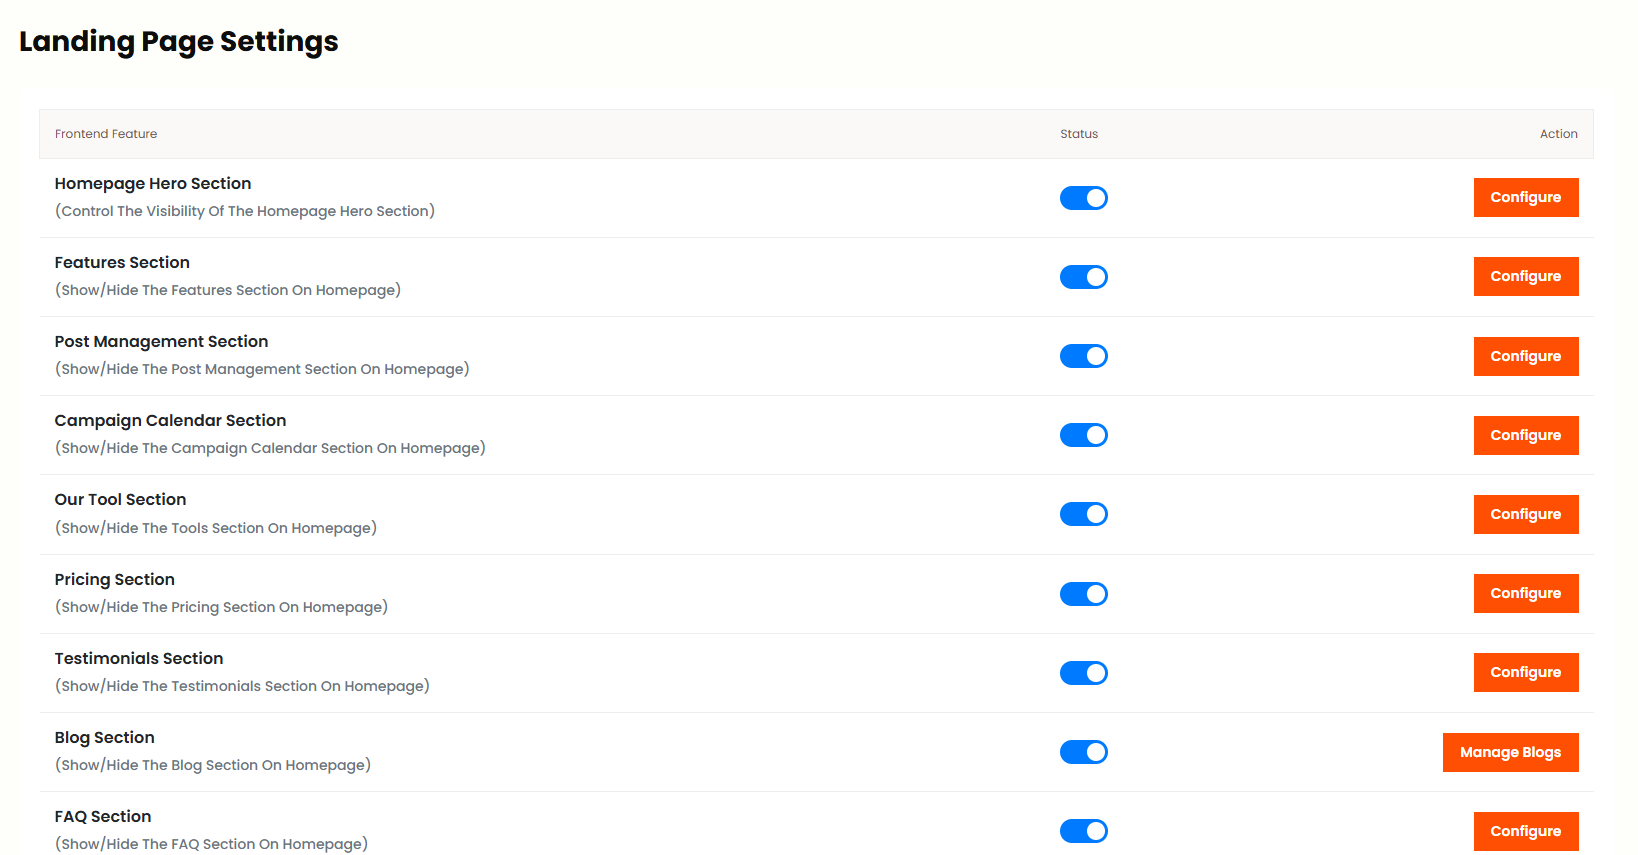
Landing Page Settings
Landing Page Settings allows Super Admin to control the visibility and content of various sections on the homepage. Homepage Hero Section controls the visibility of the homepage hero section which is the main banner area. Features Section allows you to show or hide the features section on the homepage. Post Management Section allows you to show or hide the post management section on the homepage. Campaign Calendar Section allows you to show or hide the campaign calendar section on the homepage. Our Tool Section allows you to show or hide the tools section on the homepage. Pricing Section allows you to show or hide the pricing section on the homepage. Testimonials Section allows you to show or hide the testimonials section on the homepage. Manage Blogs allows Super Admin to add, edit and delete blog posts for the frontend. FAQ Section allows you to show or hide the frequently asked questions section on the homepage. CTA Section allows you to show or hide the call-to-action section on the homepage.
System
Version Update
Super Admin can upload new version zip file and run version update from this panel. The page shows System Details with Current version and Latest version. After uploading the zip file, click Update Now to complete the version update process.
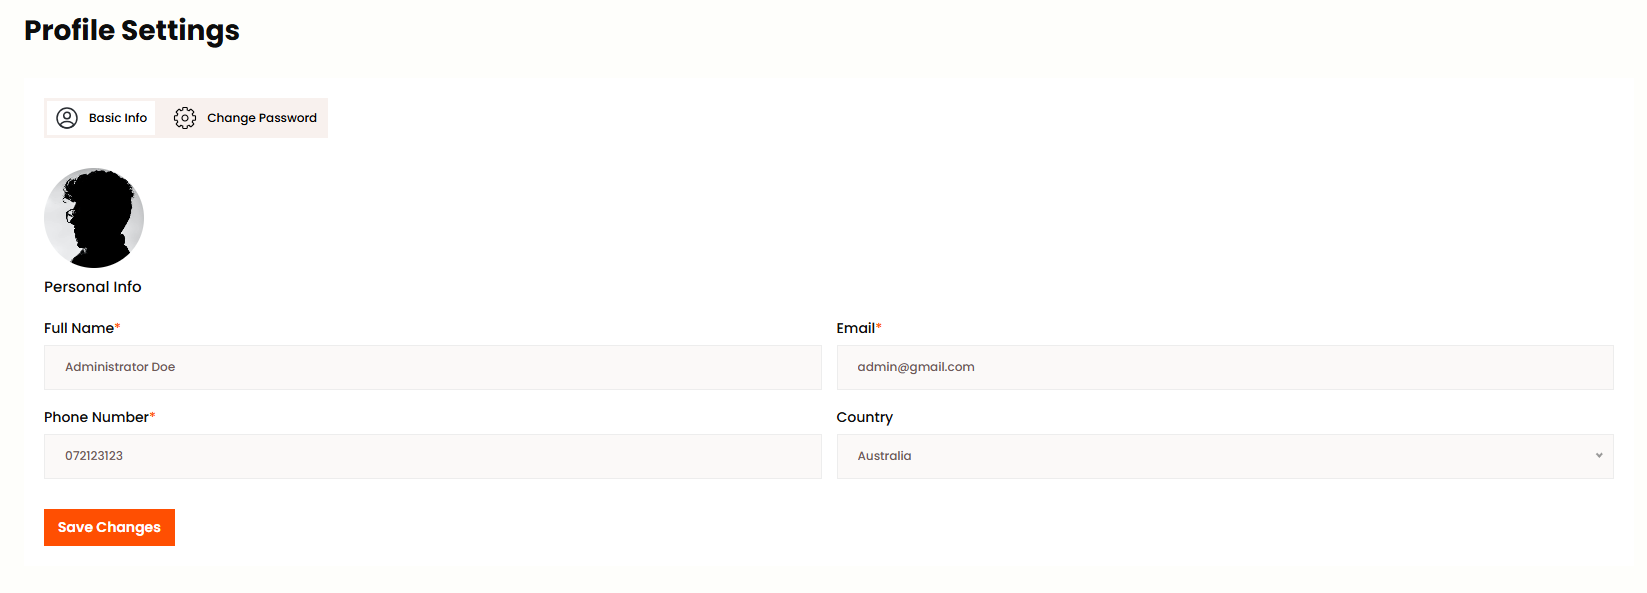
Profile
- Profile Info
Super Admin can edit all their profile information or change password from this menu bar. You can update Photo, Full Name and Email in Personal Info section. Use Change Password to set a new password by entering current password first.